Sheet mulching is a simple, cheap, and environmentally friendly technique that helps you build nutrient rich soil while also getting rid of pesky weeds or unwanted grass. Sheet mulching involves layering nitrogen rich materials and carbon rich materials on top of each other (like a lasagna) so that they will breakdown into a rich compost to grow your plants in. Sheet mulching is a great way to prepare a new garden or orchard for planting in coming seasons.
TIMING
Sheetmulching is most effectively done in spring or summer months. Although fall sheetmulching is also effective in building good soil, many perennial grasses and weeds will just go dormant and revive in the spring after the cardboard layer has decomposed.
EASY STEPS FOR EFFECTIVE SHEETMULCHING:
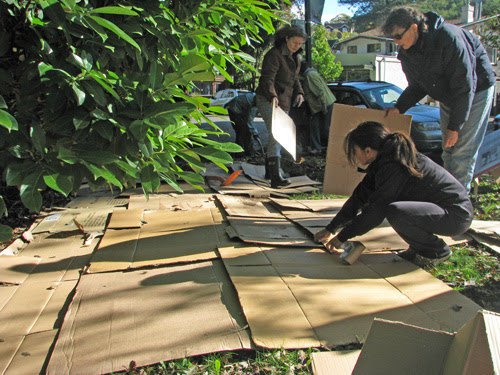
1. Gather your cardboard for your first layer. The ideal cardboard for sheetmulching is large unwaxed boxes with few if any holes in them. You can easily find large quantities of free cardboard in the form of used boxes from stores of many kinds; most stores have a dumpster specifically for cardboard. Since they pay to dispose of it, most stores don’t mind if you take it but it doesn’t hurt to ask first. Big box stores generally bind bales of cardboard that require permission to access. We find the easiest place to get cardboard is to drive behind a series of smaller stores at a strip mall until you find a cardboard bin with good size and quantity. You may wish to remove tape and/or staples from the boxes before use because the plastic and metal will not break down.
Newspaper is also sometimes used as the initial layer for sheetmulching, but we find its use much more time consuming and less effective.
2. Lay out the area you plan to sheetmulch, marking with stakes, flags, or landscape paint. Mow or cut existing grass or weeds as low as possible. This cut biomass material can be left to be covered by the cardboard layer or placed on top if it’s free of weed seeds.
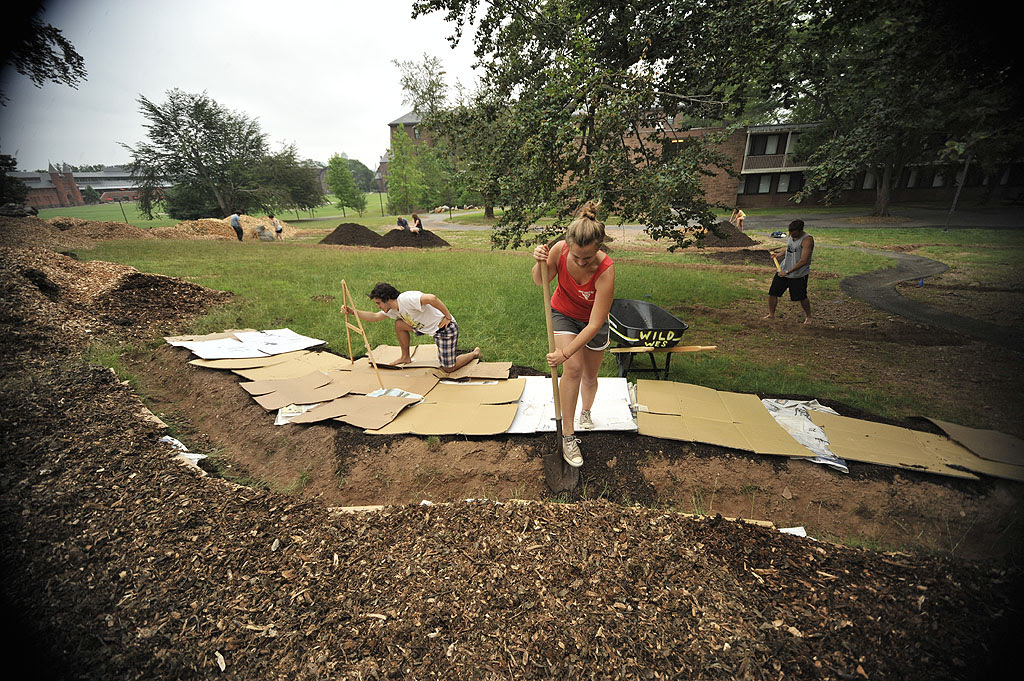
3. Place a single layer of cardboard (carbon rich layer) on top of the area you would like to cover. This cardboard serves to choke out the existing vegetation and will then decompose over the course of several months. Worms love cardboard! Make sure to overlap the cardboard pieces by several inches to avoid leaving gaps for existing vegetation to continue to grow. Wet down the cardboard thoroughly after placement to begin the decomposition process and ensure that rain will soak through rather than sheeting off. Wetting also helps keep the cardboard in place in windy conditions.
4. After you have covered the ground with cardboard, top it with a nitrogen rich layer. This can be in the form of compost, grass clippings, non seeding weed trimmings, etc. Make sure to cover the entire surface of the cardboard.
5. Apply a top layer of a carbon rich material such as wood chips, mulch, dried leaves, or seed-free salt hay or straw. 2 inches is a minimum depth of material.
6. You can keep it at these three layers or continue to build switching between carbon and nitrogen layers until you are satisfied with the depth. Regardless, it is best to end with a thick carbon layer to reduce the incidence of new weeds. The thicker your sheet mulch, the longer it will take to break down and the more effectively it will kill unwanted weeds and grasses. Wet your sheet mulch when completed and continue to water as needed depending on your rainfall and temperature. For the layers to build heat an breakdown the sheet mulch must be kept damp.
7. It usually takes a season for sheetmulch to break down and be ready to plant. For example, if you sheetmulch in spring, by fall you will have rich, largely weed free garden bed.
SHEETMULCH RESISTANT WEEDS!
Some of the most persistent and aggressive weeds are not effectively controlled by sheetmulching. Weeds with large spreading root systems are especially problematic and may only be encouraged by the elimination of their competition. We have found the following weeds to be the most resistant to sheetmulching: thistle, bindweed, japanese knotweed, and mugwort. For these and other problematic weeds, consider other control techniques (hand removal, vinegar sprays, flameweeding, etc) prior to sheetmulching. You might also consider using multiple layers of thick cardboard, although the resulting time for decomposition would be increased.
SHEETMULCHING AROUND EXISTING PLANTS
It is important not to bury the base or root flare of existing trees and other woody plants. A good rule of thumb is to keep all cardboard and sheetmulch materials at least 3 inches from the base of existing plant materials. In establishing our food forests, the Philadelphia Orchard Project often plants the fruit trees, berry bushes, and vines at the same time as sheetmulching in the spring. To get the planting depth correct, sheetmulching is completed before planting.
Sometimes summer annual crops such as squash or pumpkins are grown in the sheetmulch between the trees and other woody plants. In the fall, after the sheetmulch has decomposed, understory perennials and groundcovers are then planted to complete the food forest.
MORE INFO
A more in depth article on sheet mulching:
http://permaculturenews.org/2012/07/20/gorgeous-gardens-from-garbage-how-to-build-a-sheet-mulch/
This edition of POP TIPS prepared with assistance from POP Intern Sophia Taylor.
SUPPORT US! If you found this entry useful, informative, or inspiring, please consider a donation of any size to help POP in planting and supporting community orchards in Philadelphia: phillyorchards.org/donate.