Much food and yard waste simply gets thrown ‘away’ and sent to landfills or incinerators. Composting allows organic wastes to slowly convert back into soil-like products and helps eliminate unnecessary waste and produce nutrient-rich soil. Vermicomposting is a specific type of composting that uses worms to speed up the decomposition process and is easily implemented at home or in areas with limited space.
This blog post will cover some simple pointers for establishing your own home or community vermicompost bin!
Vermicomposting can be a great alternative to traditional composting in areas with limited outdoor space. It uses a self-contained container in which worms (specifically red wigglers, Eisenia fetida) eat, grow, and multiply. This system takes advantage of worm digestion, as well as the work of other aerobic microorganisms to create a dark, rich soil amendment useful for boosting soil fertility and supporting plant health.
While traditional composting can require a large, ventilated space outdoors, and must be maintained by frequent turning of the pile and proper layered mixing to ensure an even decomposition, in vermicomposting, the worms do all the work —(though you still have to maintain proper temperatures, mix of materials, and moisture levels).
There are a few constant tasks required for maintaining a vermicomposting bin. Ideally, food waste should be chopped into small pieces and added to the bin once or twice weekly to fed to your red wigglers. Then, after a few months of the worms’ producing a buildup of castings (worm poo) from the food scraps, you’ll need to empty your bin, sort worm castings from any undigested food scraps, reline it with damp newspaper, and then place the worms back in with some digested compost to start the process again.
Steps for Starting a Vermicomposting Bin:
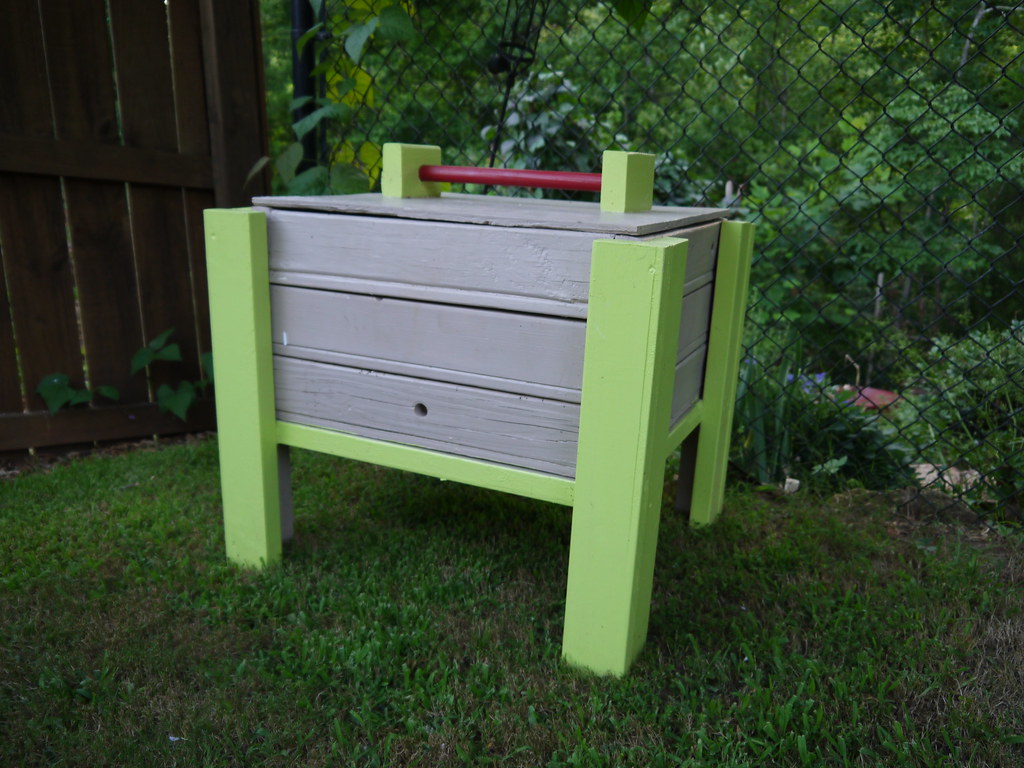
- Prepare your compost bin. The main constraints of the bin you choose depend on the worms and other organisms. Worms must have water, food, and air to survive. You will provide the food in the form of your chopped food waste, but be sure to choose a bin that allows air flow for the worms and general composting process. Using any type of storage bin with holes drilled into it and nestled into another with space for drainage should work fine! Also, make sure that the bin is not clear as the worms need to live in the dark.

2. Next, decide where you are going to put your compost bin. The only concerns here are to keep the worms in a room temperature place (anywhere between 55 °F and 85 °F) and out of too much direct sunlight so the bin does not overheat.
3. Next, prepare the bin for your worms. It is best to do this by first putting down a bed of shredded newspaper. Shredded cardboard can also work well, but in both cases avoid anything that has a glossy or waxy finish. Spray the newspaper or cardboard enough to moisten it, but don’t soak it through.
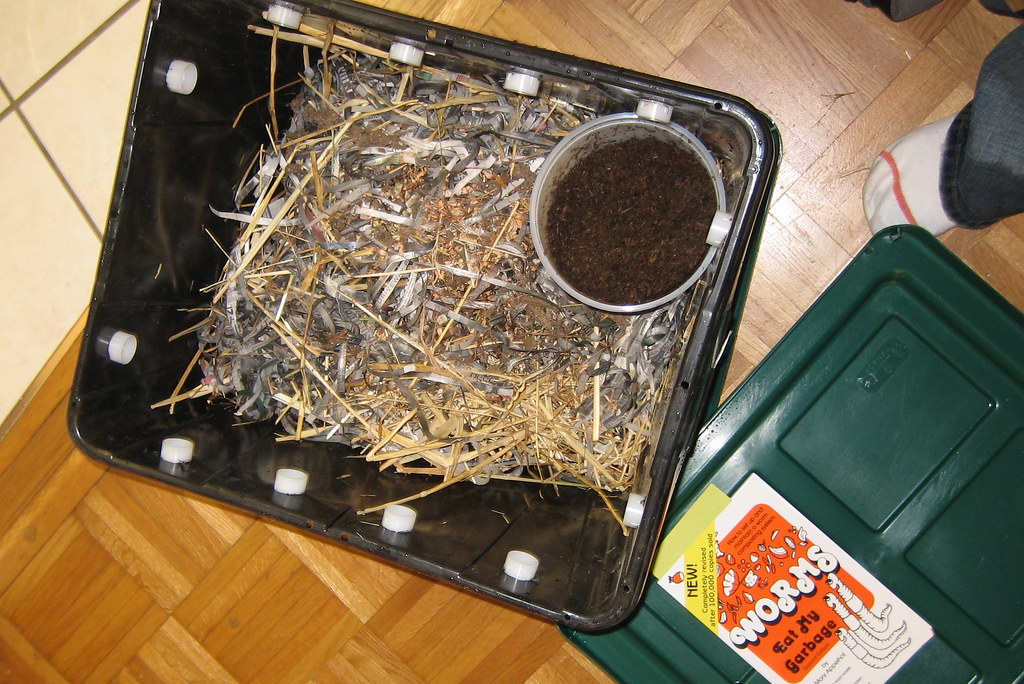
4. Add some food scraps to the damp paper, as well as a small amount of dirt to get the compost started. Adding the food first will get the microorganisms growing for the worms to eat later.
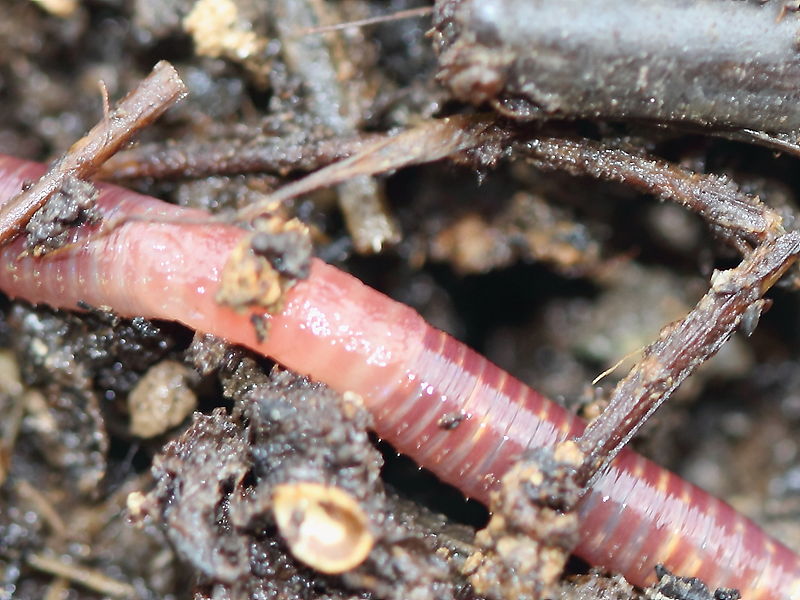
5. After about 2 weeks, it is time to add the worms. The best worm type for composting is called the red wiggler. These can be found at a garden store, but you can also order them online here. Red wigglers are the ideal worms for composting for a few reasons. They do not mind living close together and are not prone to burrowing deep into the ground, so they will survive well in the confines of a compost bin.
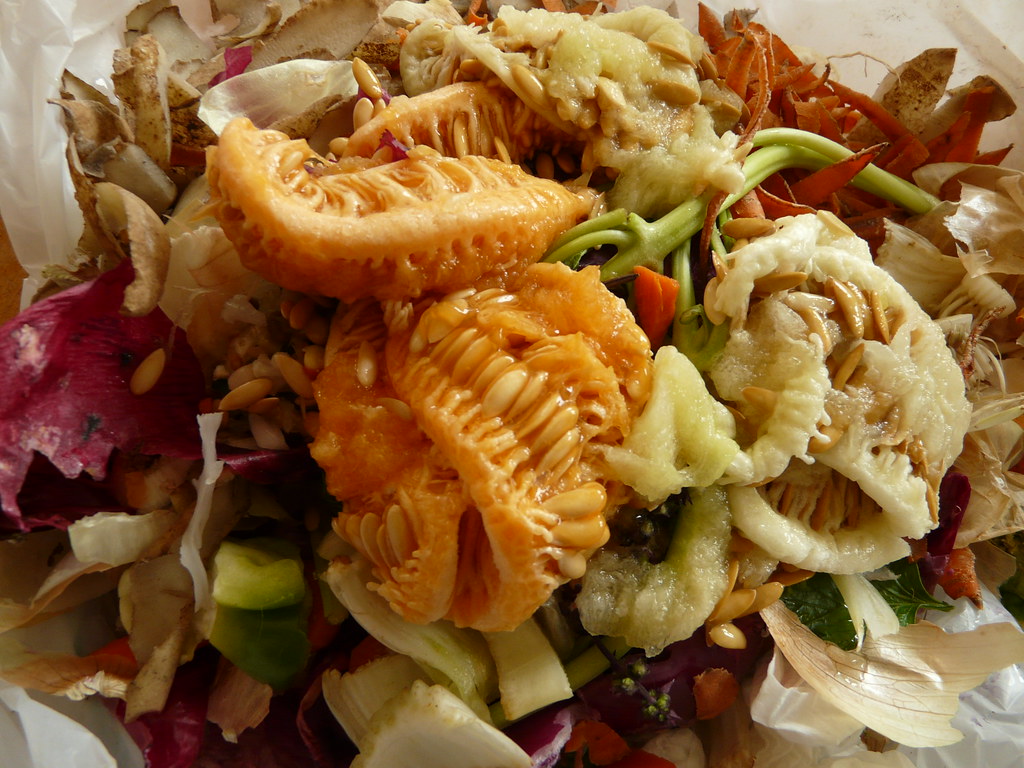
6. The next step in ensuring a good, healthy vermicomposting bin is to feed it with a larger portion of food scraps. Most vegetable and fruit scraps work very well in the compost with the exception of citrus, onions, or garlic. Coffee grounds and tea leaves compost well, as do eggshells. Never add foods such as meat or dairy products, and avoid adding cooked food. Most importantly, watch your compost to see which foods break down well and which do not. This will give you a good idea of what to add to your bin. For a more complete guide on the types of food scraps to use in your compost, see this website.
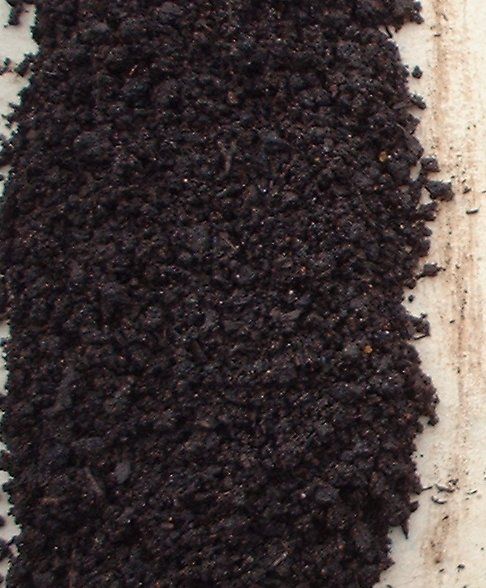
7. The last step in the process is to harvest the rich product being made by the worms every two or three months. To do this, you should empty your current vermicomposting bin and remove the dark brown, soil-like dirt at the bottom. This can be used as a fertilizer and is a great soil additive. Make sure to sort through it to recover your worms, but remember that they will multiply so don’t worry about getting all of them!
Once you have started the vermicomposting process, you can enjoy the benefits of it! First of all, composting in general will reduce the amount of food waste you have to keep in your kitchen, thus reducing unwanted odors. In addition, yard waste can be placed in a vermicompost bin which will overall reduce the amount of trash you throw away.
Also, the soil amendment produced by vermicomposting has a few benefits over traditional garden compost. Vermicompost contains high levels of the three nutrients most necessary for healthy plant growth: nitrogen, phosphorus, and potassium. The physical addition of vermicompost to soil will also help aerate the soil and provide for more water and nutrient flow. Finally, the liquid produced by the breakdown of organic matter in this process can be diluted in water and sprayed onto plant leaves for foliar feeding and to assist with disease suppression!
Whether you are simply looking to cut down on your waste output or if you are a home gardener looking for a powerful, environmentally-friendly fertilizer, vermicomposting could be a great fit! Again, aside from other benefits it can be very helpful for people who want to compost but do not have the outdoor space to maintain a traditional compost bin. Vermicomposting can also be a fun teaching tool for kids as the worms are able to speed along the (usually very slow) composting process. Remember to watch your bin at the beginning to get a feel for what foods and temperatures keep your worms thriving, and happy composting!
References:
https://rodaleinstitute.org/science/articles/vermicomposting-for-beginners/
https://yuzumag.com/worm-composting/
https://www.motherearthnews.com/organic-gardening/guide-to-vermicomposting-zmaz83jazshe
http://www.balconycontainergardening.com/gardening/155-making-a-compost-bin
https://home.howstuffworks.com/vermicomposting1.htm
https://www.bioenergyconsult.com/tag/benefits-of-vermicompost/
This POP Blog Post prepared by 2019-20 POP Intern Bethany Bronkema.
SUPPORT US! If you found this entry useful, informative, or inspiring, please consider a donation of any size to help POP in planting and supporting community orchards in Philadelphia: phillyorchards.org/donate.